Georgia girls

--
Chris Lee (Sent from Treo 700p)
posted by Chris at 8:35 PM
0 comments
![]()
![]()
My quest to build an R2 unit incorporating Apple technology.
posted by Chris at 8:35 PM
0 comments
![]()
![]()
posted by Chris at 8:27 PM
0 comments
![]()
![]()
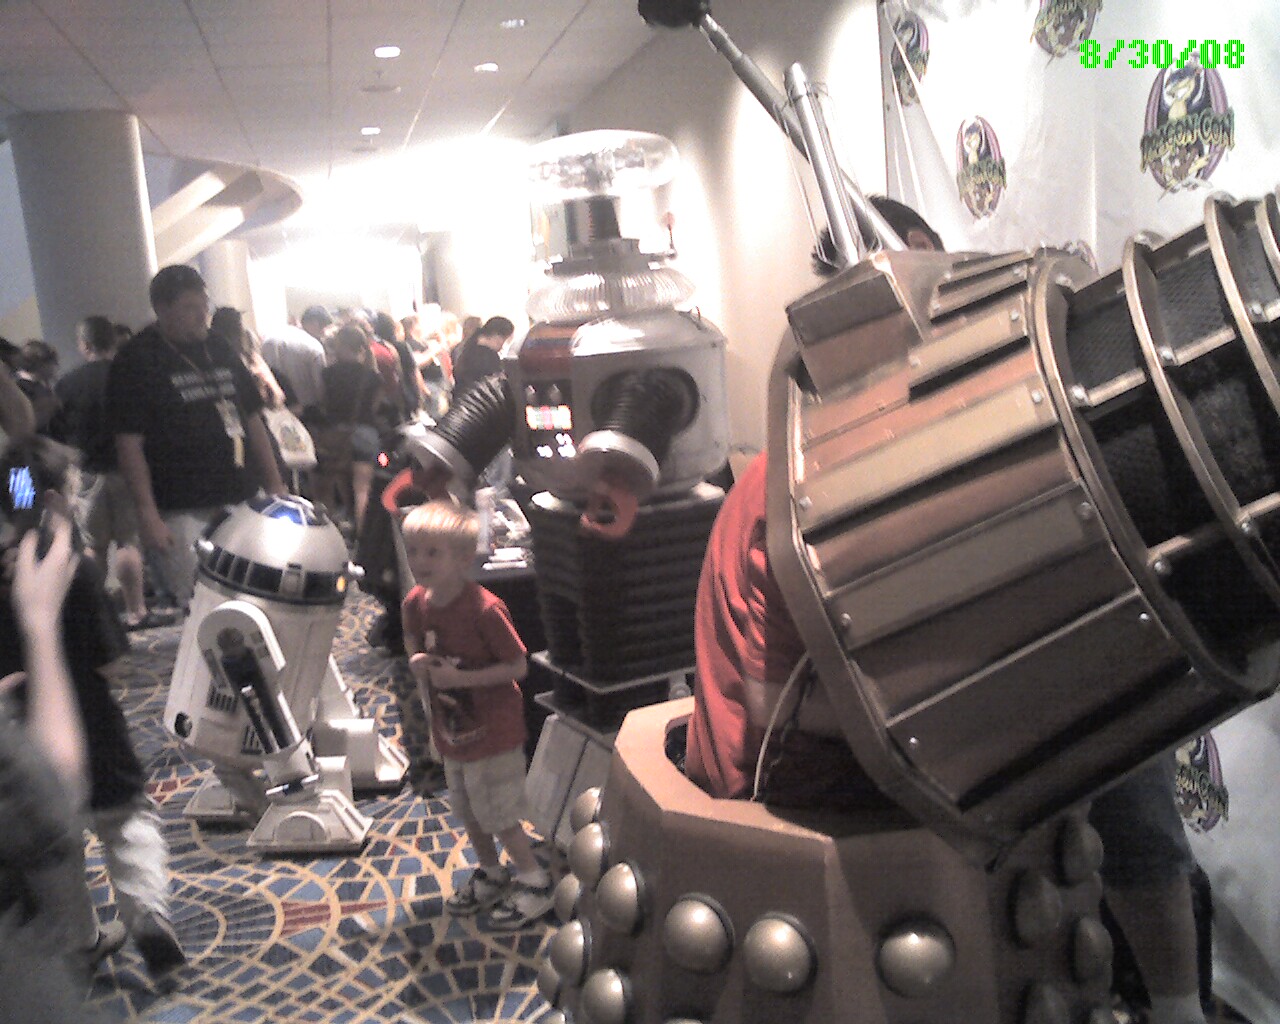
Came up with this simple business card layout so I can have some cards to give away at DragonCon at the R2 Builders table. People always ask for them.

Labels: dragoncon business card
posted by Chris at 9:18 AM
0 comments
![]()
![]()

posted by Chris at 1:43 PM
0 comments
![]()
![]()
posted by Chris at 1:39 PM
0 comments
![]()
![]()
Pulling the NPC motors apart to install the MOV and capacitors.

motor core exposed
posted by Chris at 1:24 PM
0 comments
![]()
![]()
From the Vantec motor controller manual:

clamps hold brushes and springs in place
posted by Chris at 1:23 PM
0 comments
![]()
![]()

NPC in place before cutting off shaft
posted by Chris at 1:19 PM
0 comments
![]()
![]()

leftover cut outs from previous holes
posted by Chris at 1:19 PM
0 comments
![]()
![]()

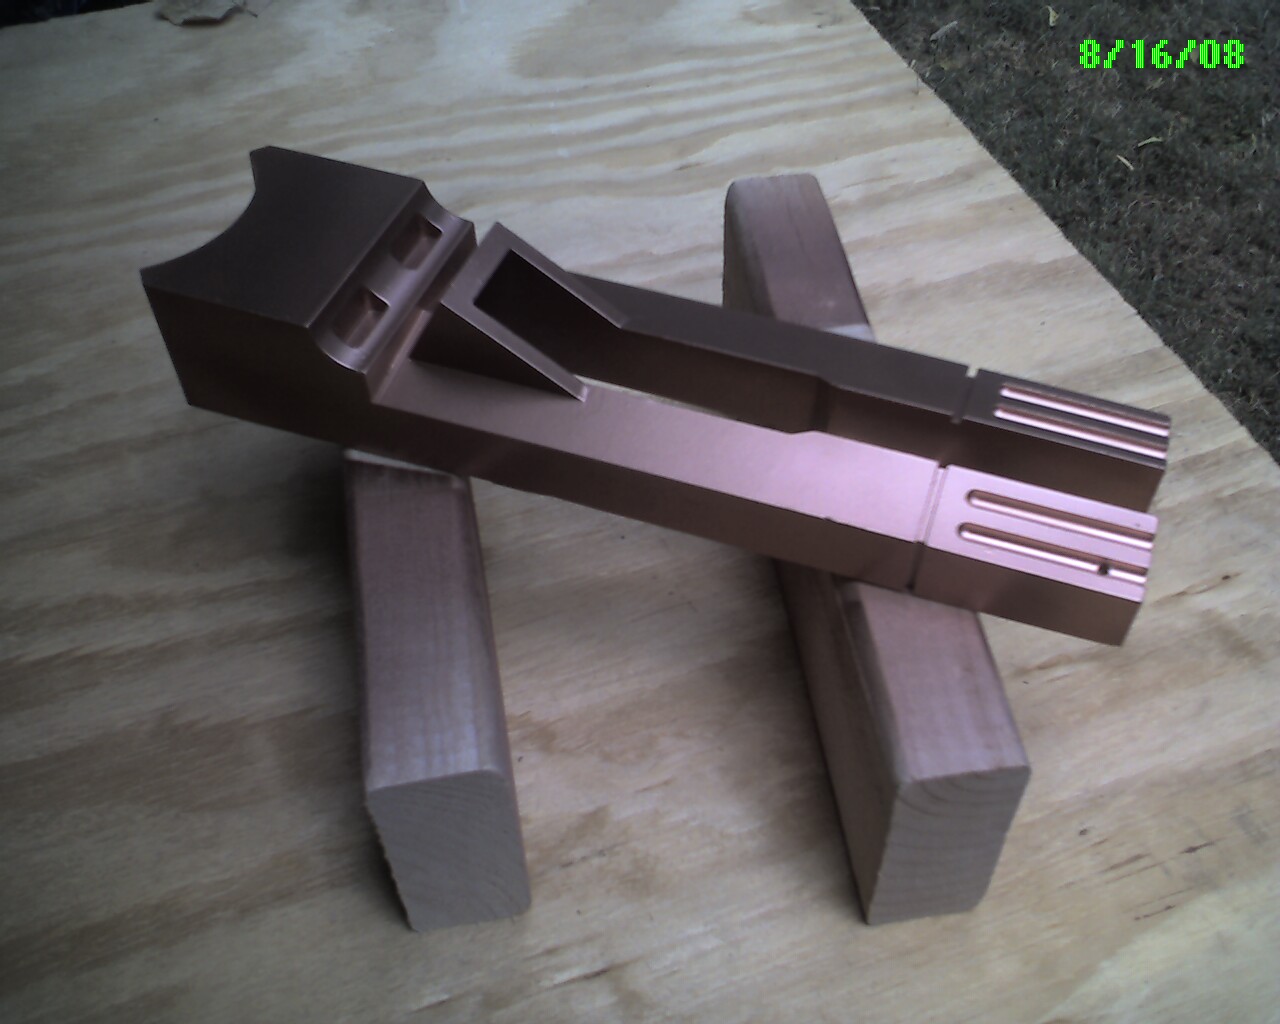
larger hole cut for NPC motor and JAG mount
posted by Chris at 1:18 PM
0 comments
![]()
![]()

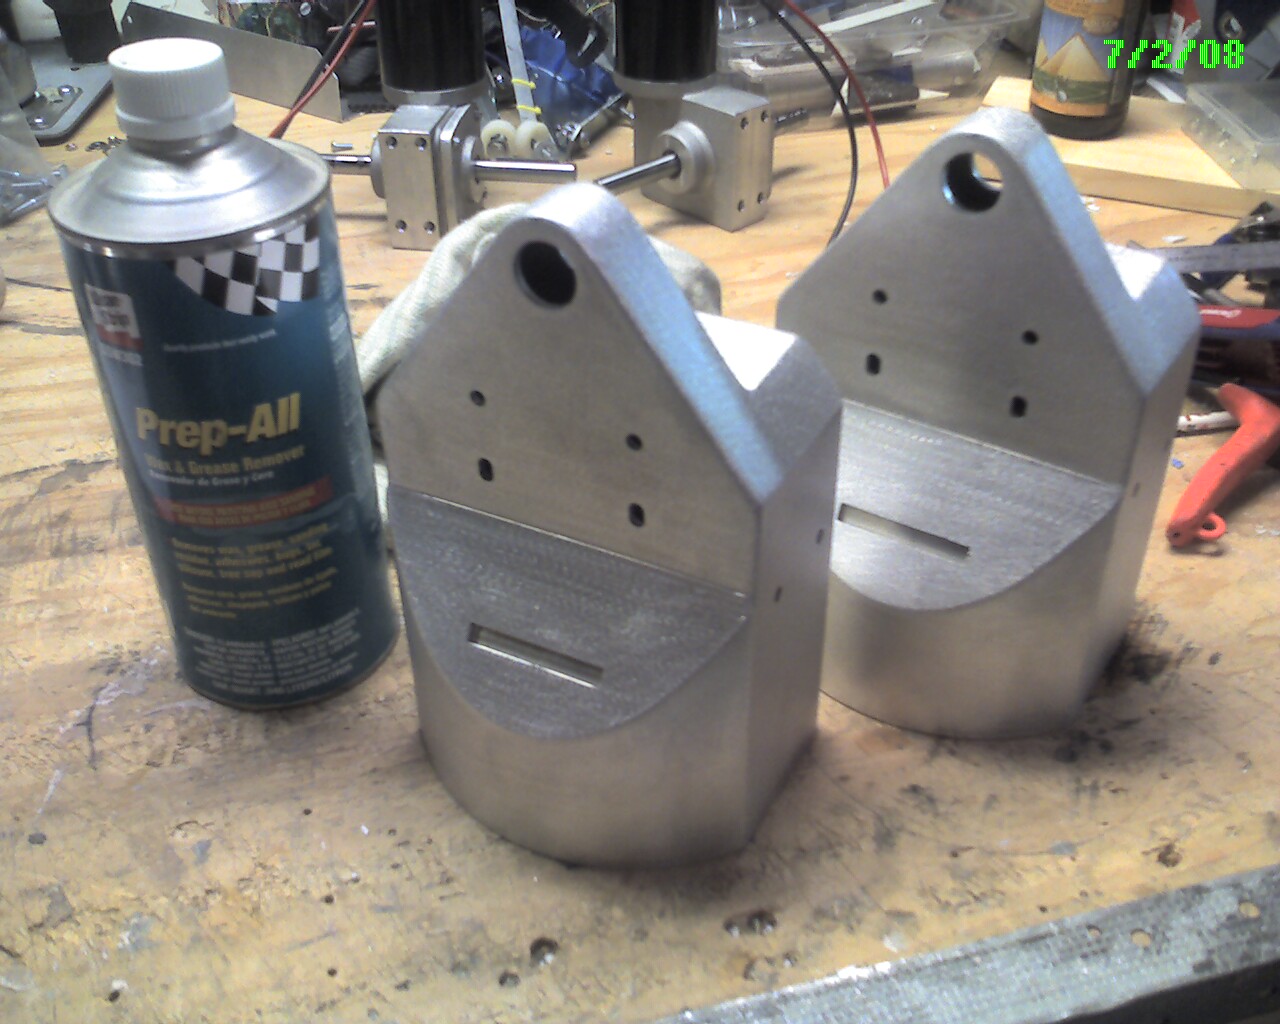
Prepping foot shells for new motors
posted by Chris at 1:17 PM
0 comments
![]()
![]()

Sandblasted and re-primed after enlarging the opening for the NPCs
posted by Chris at 1:15 PM
0 comments
![]()
![]()