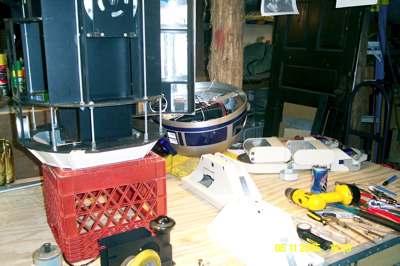
New motor mounts
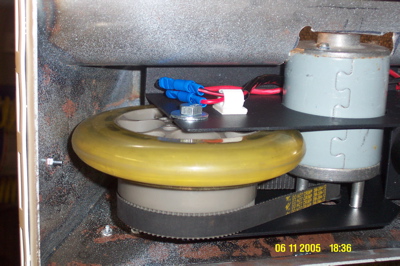
Pat Coajou's cool new scooter motor mounting brackets came in the mail. I swapped them out for my home-made ones. Pat's use the ball caster and are much more compact. I had to remove the feet, which is a big deal, so I ended up completely taking R2 apart to get some other work done inside as well.
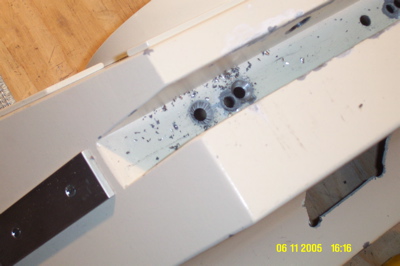
Test fitting the parts before installation.
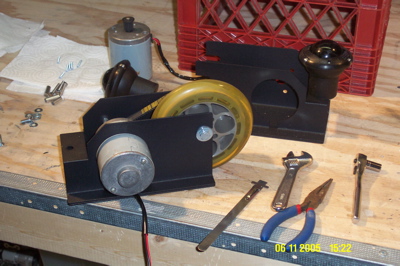
I had to enlarge the opening for the scooter motor since Pat's brackets were smaller than mine and fit closer to the U-channel of the foot.
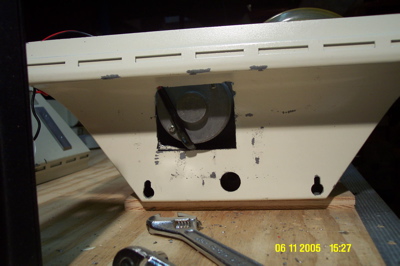
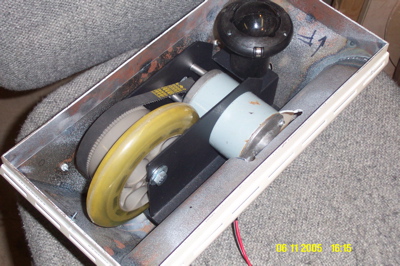
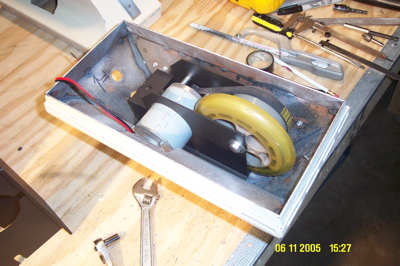
I also had to drill and countersink new mounting holes.
posted by Chris at 11:31 PM
![]()
![]()

0 Comments:
Post a Comment
<< Home