Attaching the legs
Here's my interim solution for getting the legs on the A&A frame - I cut a piece to match the 1/2" thick PVC JAG stops that came with the frame, but made mine from 1/4" birch ply.
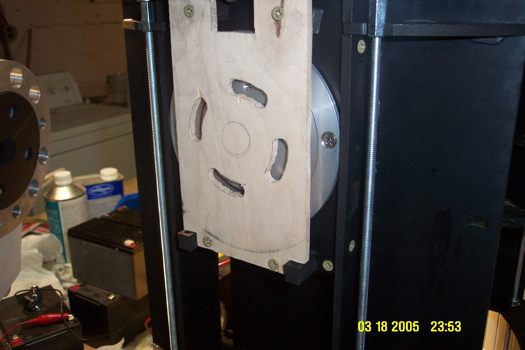
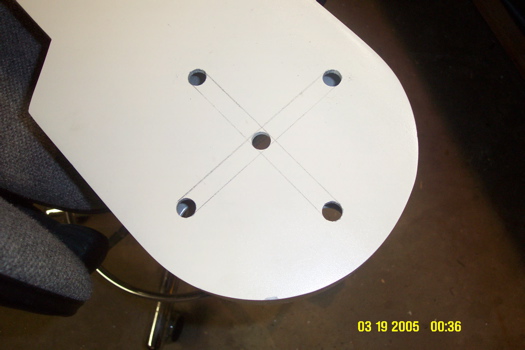
Had to drill 4 new holes in each leg:
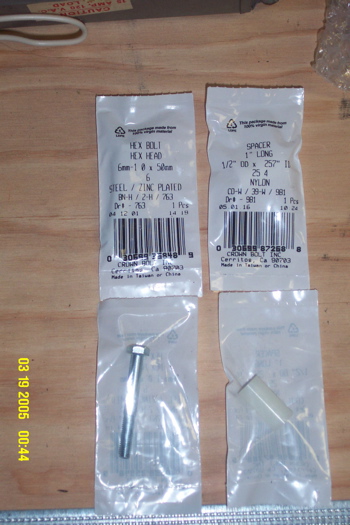
Used hardware from Lowes/Home Depot:
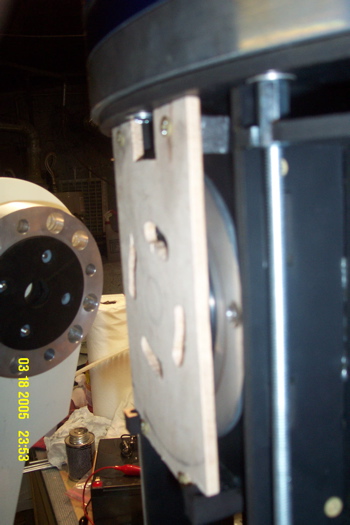
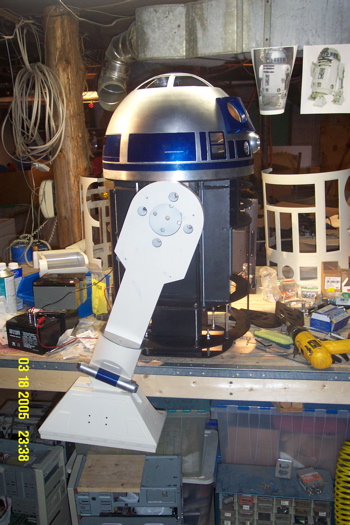
One leg on and rotated to the JAG stop endpoint:
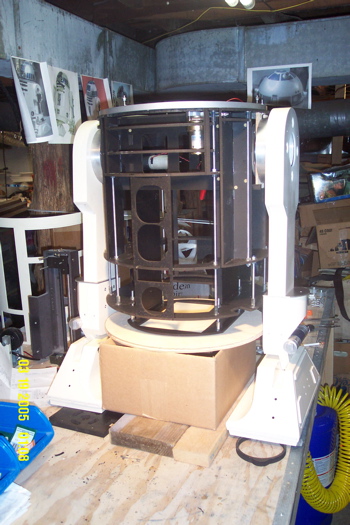
Both legs on. The spacing looks just about right now for the aluminum hubs:
posted by Chris at 11:38 PM
![]()
![]()

0 Comments:
Post a Comment
<< Home